Tired of hefty bills for minor plumbing repairs? Want to take control of your home maintenance and tackle those pesky leaks and clogs yourself? Then look no further! This article will provide you with essential DIY plumbing tips to help you handle minor repairs with confidence.
We will guide you through common issues faced by homeowners in the UK, explaining the complexities of plumbing in simple beginner-friendly techniques. With basic plumbing tools and a can-do attitude, you will be able to fix leaky taps, unclog drains, and repair running toilets in no time.
No need to worry when faced with a dripping tap or a slow-draining sink. With our step-by-step instructions and practical advice, you will become your own reliable plumbing service.
We understand that assisting others is important to you, which is why we have created this article specifically for beginners who want to save money while taking care of their homes. Let’s delve into the world of DIY plumbing!
Basic Plumbing Tools You’ll Need
You will need a few essential plumbing tools to tackle minor repairs and build your DIY skills. Adjustable spanners are vital when it comes to fixing pipe joints, as they allow you to securely tighten and loosen nuts and bolts.
A pipe cutter is also necessary for removing damaged sections of pipes and replacing them with new ones.
Replacing a showerhead will require adjustable pliers to grip it tightly without damaging its surface. A basin spanner is also useful when taking out old showerheads, as it gives better access in small spaces.
Equipping yourself with these simple plumbing tools will make repairing pipe joints and replacing a showerhead straightforward tasks that you can handle on your own.
Fixing a Dripping Tap
To repair a dripping tap, you need to start by locating the origin of the leak. This could be caused by a worn-out washer, a broken O-ring, or a damaged valve seat. Once you have determined the cause, follow a detailed guide to fix the tap. This may involve dismantling the handle, replacing the faulty components, and then reassembling everything securely.
Identifying the cause of the leak
Take a moment to inspect the source of that leak – it could be a loose connection or a worn-out washer. To help you identify what’s causing it, here are some common possibilities to check:
- Tighten any nuts or bolts with an adjustable spanner.
- Check the tap handle for wear and tear. If there’s a deteriorated washer, replace it.
- Look for any visible cracks or damage in the pipes. Shut off the water supply right away if you spot any, and call a professional plumber.
Addressing these leak sources quickly can help you avoid water damage to your home. It’s always best to fix minor leaks before they become major plumbing issues.
Step-by-step guide to repairing the tap
Repairing the tap is a simple process that can restore functionality and give a sense of achievement.
To start, turn off the water supply to the tap.
Then, use an adjustable spanner to unscrew the showerhead from the pipe.
Check the rubber washer inside and replace it if necessary.
Apply plumber’s tape or thread sealant to ensure a secure seal when reattaching the showerhead.
For replacing a sink aerator, start by removing the old aerator from the tap spout with pliers or an adjustable spanner.
Clean any debris from the threads on both the spout and new aerator before screwing it back on firmly by hand.
Tighten with pliers if necessary, but be careful not to overtighten and damage the threads.
These simple repairs can save you money and give you the confidence to tackle future plumbing projects.
Unclogging drains.
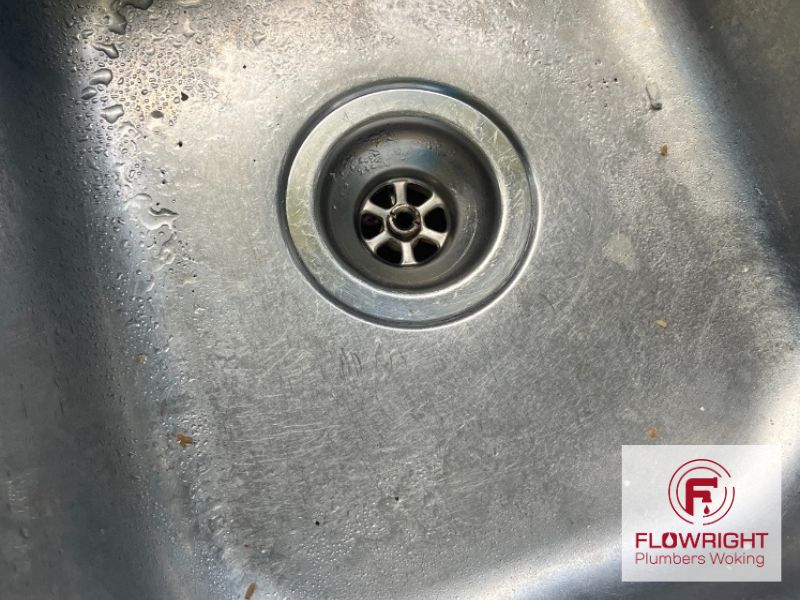
Get rid of your drainage issues easily with these simple DIY plumbing tips. When it comes to unblocking drains, there are some effective methods you can use for quick and easy maintenance.
One method is using a plunger. Place the plunger over the drain and press down firmly, then pull up quickly to create suction. Repeat this action several times until the blockage is removed.
Another technique is using a combination of bicarbonate of soda and vinegar. Pour half a cup of bicarbonate of soda down the drain, followed by half a cup of vinegar. Let it sit for approximately 30 minutes, then flush with hot water. This mixture helps break down organic materials that cause the blockage.
Remember to regularly clean your drains by pouring boiling water down them once a week to prevent buildup and keep them flowing freely.
Repairing a Running Toilet
Don’t let the sound of a continuous water flow disrupt your peaceful home; fix that running toilet quickly.
Two common causes of this issue are the toilet flapper and the water level. To address a running toilet due to a faulty flapper, start by shutting off the water supply valve located behind or beside the toilet. Then, take off the tank lid and examine the flapper for any signs of damage or wear. If needed, change the flapper with a new one that’s compatible with your toilet model.
If adjusting the water level is necessary to stop your toilet from continuously running, locate the float adjustment screw or rod and make the necessary adjustments until you reach an optimal water level.
By following these steps, you can resolve your running toilet issue and restore peace to your home.
Preventative Maintenance Tips
To ensure the endurance of your toilet’s capacity, it is essential to regularly perform preventative maintenance tasks. Here are four essential tips that will help you avoid common plumbing issues and maintain a consistently functioning toilet:
- Check for leaks: Inspect the area around the base of your toilet for any signs of water leakage. This can prevent costly water damage and keep your bathroom dry.
- Clean the cistern: Regularly remove mineral deposits and debris from inside the cistern to prevent clogs and blockages in the flush valve or fill valve.
- Test the flapper valve: Ensure that the flapper valve is sealing properly after each flush. A faulty flapper can cause constant running or irregular flushing issues.
- Inspect supply lines: Examine the supply lines connecting your toilet to the water source for any signs of wear or leaks. Replace them immediately if necessary to avoid sudden bursts or flooding.
By following these preventative maintenance tips, you can keep your toilet working efficiently and minimize potential plumbing headaches in the future.
Frequently Asked Questions
How can I repair a burst pipe?
To repair a burst pipe, begin by shutting off the water supply at the main shut-off valve. Proceed to open all taps and flush toilets to drain the pipes. Locate the damaged section and remove it using a pipe cutter. Purchase a replacement pipe that matches the material and size of the original. Attach the new pipe securely using compression fittings. If you are uncertain or unable to complete these steps, promptly get in touch with an emergency plumber to prevent additional water damage.
What should I do if I can’t stop a tap from dripping?
To fix a leaking tap, you need to take action. Start by turning off the water supply to the tap using the shut-off valve located under the sink. Then, take apart the tap handle and replace any worn-out washers or O-rings. Clean all the parts thoroughly before putting them back together.
By doing this, you will ensure a tight seal and prevent any more leaks, which will help conserve water. Remember, regular maintenance is important for efficient plumbing and water conservation.
How can I repair a toilet that is not flushing?
To rectify a toilet that won’t flush, start by troubleshooting.
Make sure there is an adequate amount of water in the tank and adjust the water level if necessary.
If this doesn’t resolve the problem, employ a plunger to eliminate any obstructions in the drain pipe.
For more stubborn blockages, employ a toilet auger or a chemical drain cleaner specifically designed for toilets.
These solutions should assist you in efficiently resolving the flushing issue.
How can I avoid my drains from becoming blocked initially?
To prevent blocked drains, follow these recommended practices and do-it-yourself drain maintenance techniques. Be mindful of what you dispose of down your drains. Do not pour grease, oil, or food scraps down the sink. Use a drain strainer to trap hair and debris in the shower.
Regularly clean the drains by using a mixture of hot water and vinegar or baking soda to dissolve any buildup. Lastly, avoid using chemical drain cleaners as they can damage the pipes.
What should I do if my water pressure is too low?
To troubleshoot low water pressure, start by checking the main shut-off valve to ensure it is fully open. Next, inspect the pressure regulator and adjust it if needed. If that doesn’t resolve the issue, clean or replace any clogged aerators or showerheads. Another option is to install a booster pump to improve water pressure in your entire home. Remember, increasing water pressure should be done carefully to prevent any damage to your plumbing system.


